A few years ago, one of my two older brothers and I would get together about every month to cook together and this is one of the first recipes we tried. We made it at our parents' house and, although it's rather than different than anything they would usually eat, they both really liked it - I've made it for them many times since. Bolstered by that success, I continued to tinker with the recipe because the sauce has everything that I like in it - garlic, onions, lemons and white wine. I wanted even more!
This is my "go-to" dish: I make it when I can't think of anything else to make, I make it for special occasions, and I make it when I'm entertaining someone for the first time because I know it so well. Also, it's an extremely hardy recipe - I've screwed it up so many times and it always ends up tasting great. Here's a few reasons I think why that might be:
1. Garlic and onions can do no wrong.
2. This method of cooking is technically a braise, which is a very forgiving method. I have cooked the chicken breasts both very thick and cut (or pounded) very thin and for varying lengths of time (from 2 minutes to 15) and never once has the chicken been dry.
3. Lemon juice is my secret weapon at all times. If I think a recipe needs an extra "pop" of flavor or a little more liquid because it feels dry, I always have squeezed lemon juice at the ready. Lemon juice adds no fat or calories, but tons of flavor. Since the sauce is based around lemon juice, it's an instant success.
The resulting recipe has a gravy just the consistency I like (not too thick, not too thin) to cover a grain along with the chicken. I also like the combination of the scallions and red onions for color. Almost every time I make this dish, I take the lid off and say "Oh, girl, that is perfect," addressing both James and myself. It's just that good.
Chicken Piccata
Inspired by Alton Brown's recipe in I'm Just Here For the Food
Ingredients:
3 boneless, skinless chicken breasts halves, cut in half (making 6 pieces total)
Salt & Pepper (freshly ground is great if you've got it)
Olive Oil (I use Extra Virgin because I'm convinced it adds flavor, but it's probably not necessary. The real objective is to brown the chicken, so any oil will do.)
Flour (for dredging, plus 2 tablespoons for the sauce)
2 tablespoons butter
1/2 red onion, sliced so half-moons are intact
3 cloves of garlic, also sliced and then given a rough chop
6 scallions, sliced into small rings
1 cup white wine (I like Pinot Grigio)
1 cup chicken stock
Juice of 1 large lemon (which equals about 5 Tablespoons)
Procedure:
1. "Mise en place" it up, as we say in our household, which means "Everything in its place." Today specifically, James had to run out for chicken stock right as we got started, so I had time to Mise en place much more than I usually would. Man was I glad for that later. The prep tends to take longer than the actual cooking, and the next step can sneak up on you. Therefore...
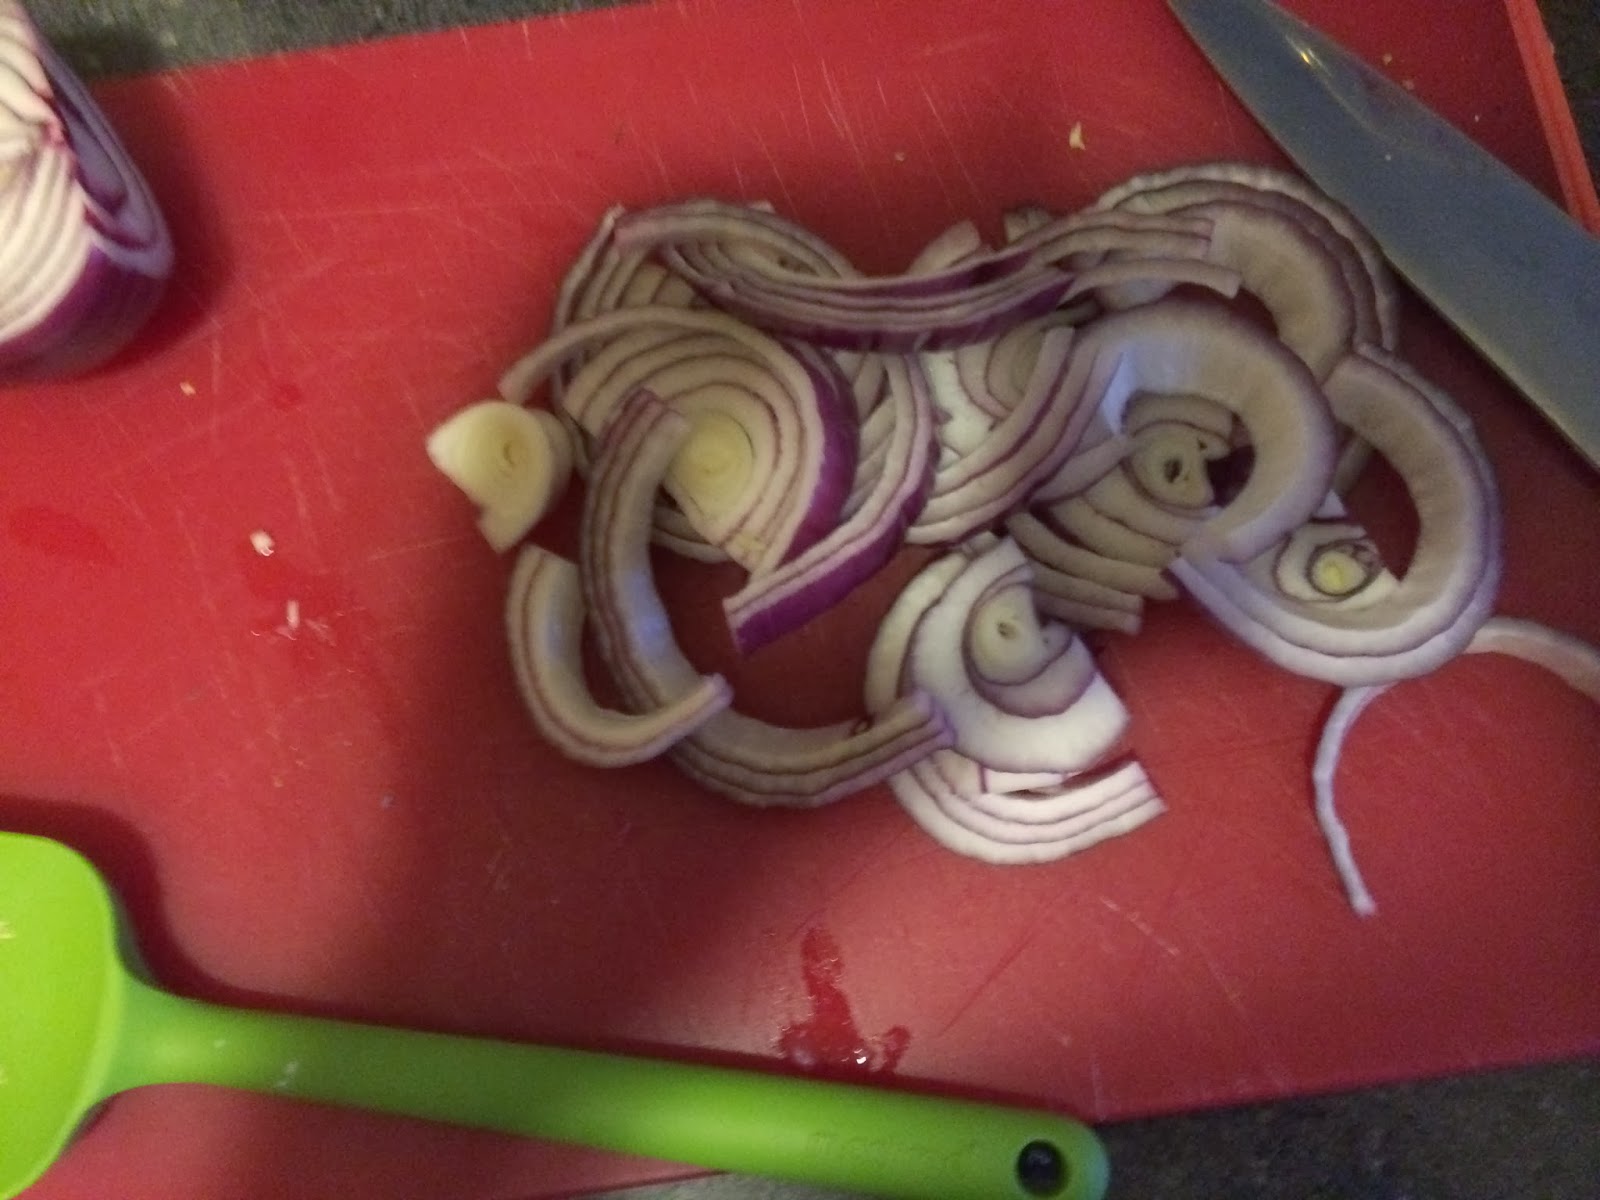
2. Cut your onion, scallions and garlic.

3. Juice your lemon.

4. Measure out your white wine, chicken stock and lemon juice. I go ahead and combine that all in one measuring cup. It's all going to be combined eventually!

5. Now would be a good time to measure out your flour (2 Tablespoons) and butter (2 Tablespoons) for the roux as well. I did not do this ahead of time and risked spilling flour all over the floor, which would have been very amateur hour indeed.
6. Assemble your dredging station! Put a healthy amount of flour onto a plate or other receptacle (I have this nifty plastic one with high sides that my mom bought me which is pretty boss.) Today, for the very first time, I put out two small bowls of salt and pepper to use when dredging, so I wouldn't get raw chicken on my salt & pepper shakers. Although it took a while to grind out all that pepper at once, it made life a lot easier when dredging.

7. Cut your chicken breasts in half. This is best achieved using quite a sharp knife, which I ... did not do. I was using my good knife on my vegetables and didn't want to cross-contaminate. You'll see my results were varied. This is done best by starting at the thickest part of the breast and slicing over and over again. You won't saw back and forth but complete the cut, removing your knife from the breast and then start over again.


9. Use a large pan with high sides (preferably). Pour your olive oil into the bottom of the pan until just coated. On medium-high heat, let that oil get nice and hot until it starts to smoke.
10. Gently lay your floured chicken breasts into the oil. You're not really supposed to crowd the pan like this but we do because... we're lazy and we want to eat sooner.

11. Brown the chicken on both sides. The chicken will later be cooking in the sauce, so they don't need to be cooked all the way through (but, as stated above, it's okay if they are.) Browning the chicken adds a whole other layer of flavor and attractiveness to the dish.

12. Once your chicken is browned, take out of the pan and place on a clean plate. Let rest at room temperature.
13. Add your red onions to the same pan and a little more oil, if necessary. Cook the red onions until they get slightly floppy (technical term) and just a little browned.

14. Now add your scallions and garlic and lower the heat to medium-low. The pan is already very hot, so this will bring the actual heat to around medium. Cook for about 2 minutes more (you don't want the scallions to cook too much so they still have some texture by the end.)

15. Okay - here's the fancy part. Add your butter and let melt for a few seconds before adding the flour for your roux. Use a whisk to mix that up together and when the flour looks like it's completely covered in butter...


16. Add your liquid. Continue to whisk until you don't see any more clumps of butter. This won't be perfect, since whisking is not ideal with chunks of onions in there, but it'll work out fine. (I prefer this method to taking the onions out and then adding them back in once the lumps of flour are gone. I've done it before, but what a bother.)


17. Let the liquid simmer for about 60 seconds before adding the chicken.

18. Once the chicken is added, turn the heat back to medium and clap a lid on that bad boy. Let cook for about 5 minutes, or keep an eye on it until the gravy is a little thinner than your desired consistency. The gravy will thicken up as it sits.
19. WHA-BAM! Chicken Piccata. The whole process will take about 45 minutes when done in the proper order. And girl, it is good.

And tomorrow - the most amazing Chocolate Chip Cookies you ever wrapped your lips around!

